Getting started
Create a workspace, set up your company, add your team and find your way around.
In this guide, and all guides
Create your workspace
A workspace is your organisation in Plutus. Whoever creates it becomes its Super Admin.
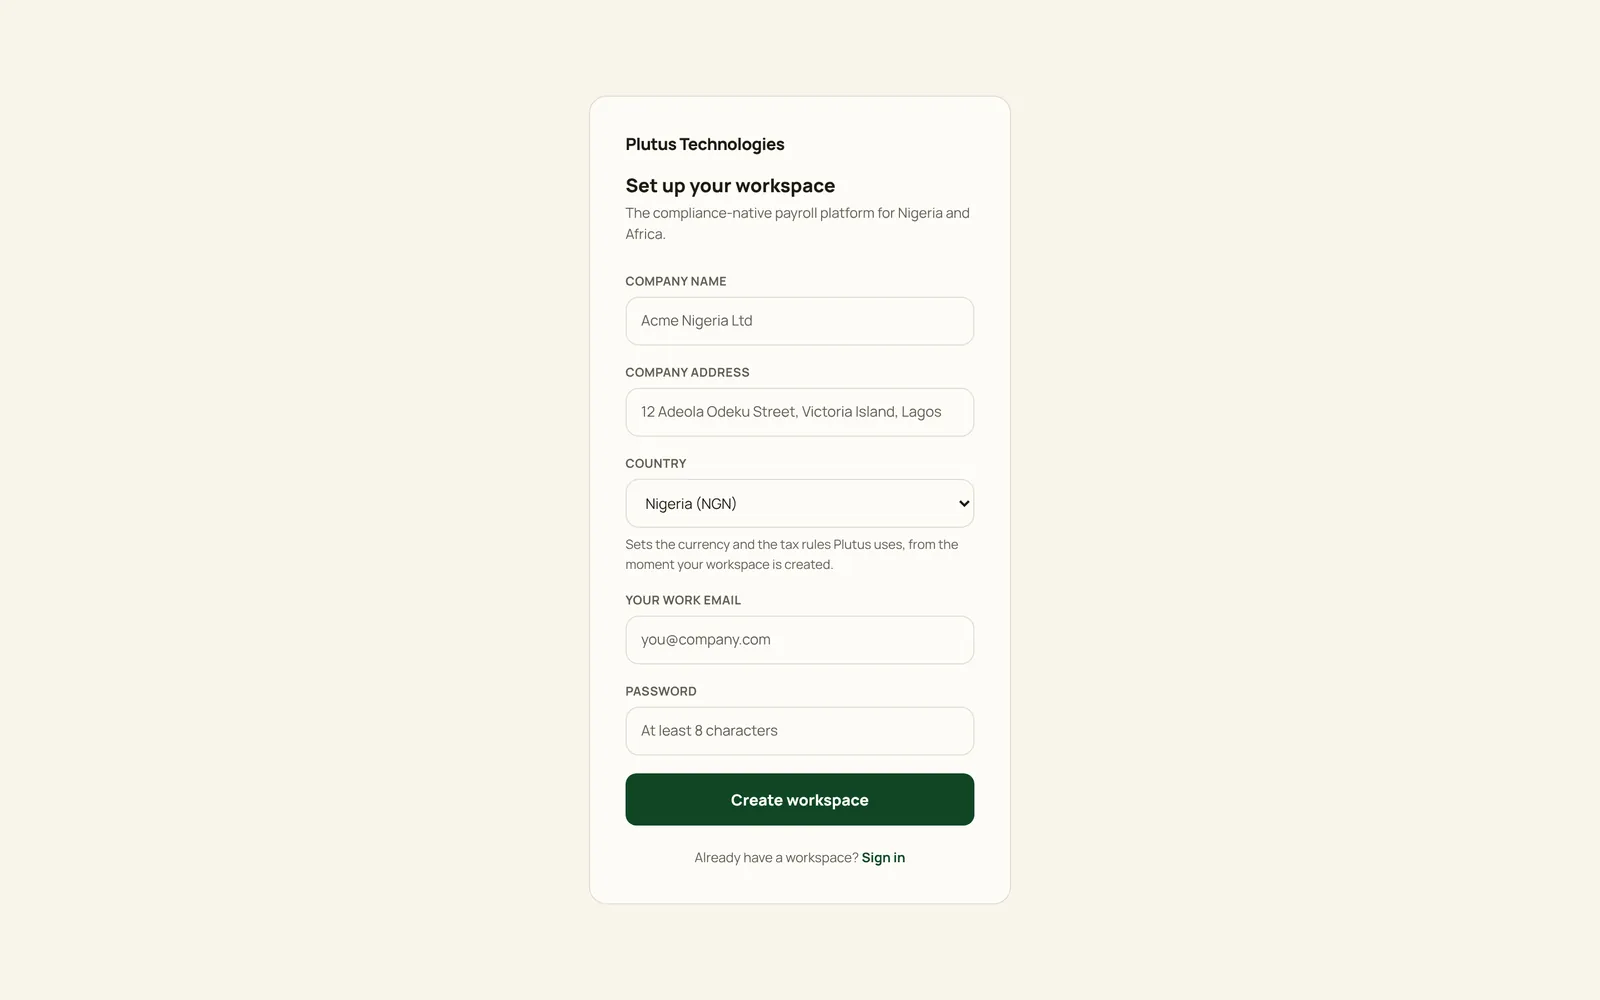
- On the sign-in page, choose Set up your workspace.
- Enter your company name and address, and choose your country: Nigeria, Ghana, Kenya, Rwanda, The Gambia or Côte d'Ivoire. The country sets your currency and the payroll rules Plutus applies.
- Enter your work email and a password of at least 8 characters, then choose Create workspace.
In Nigeria, payroll works straight away. In the other five countries, an admin first enters a few figures under Tax Settings, before the first pay run. See the Payroll guide.
 (opens full size in a new tab)
Sign in
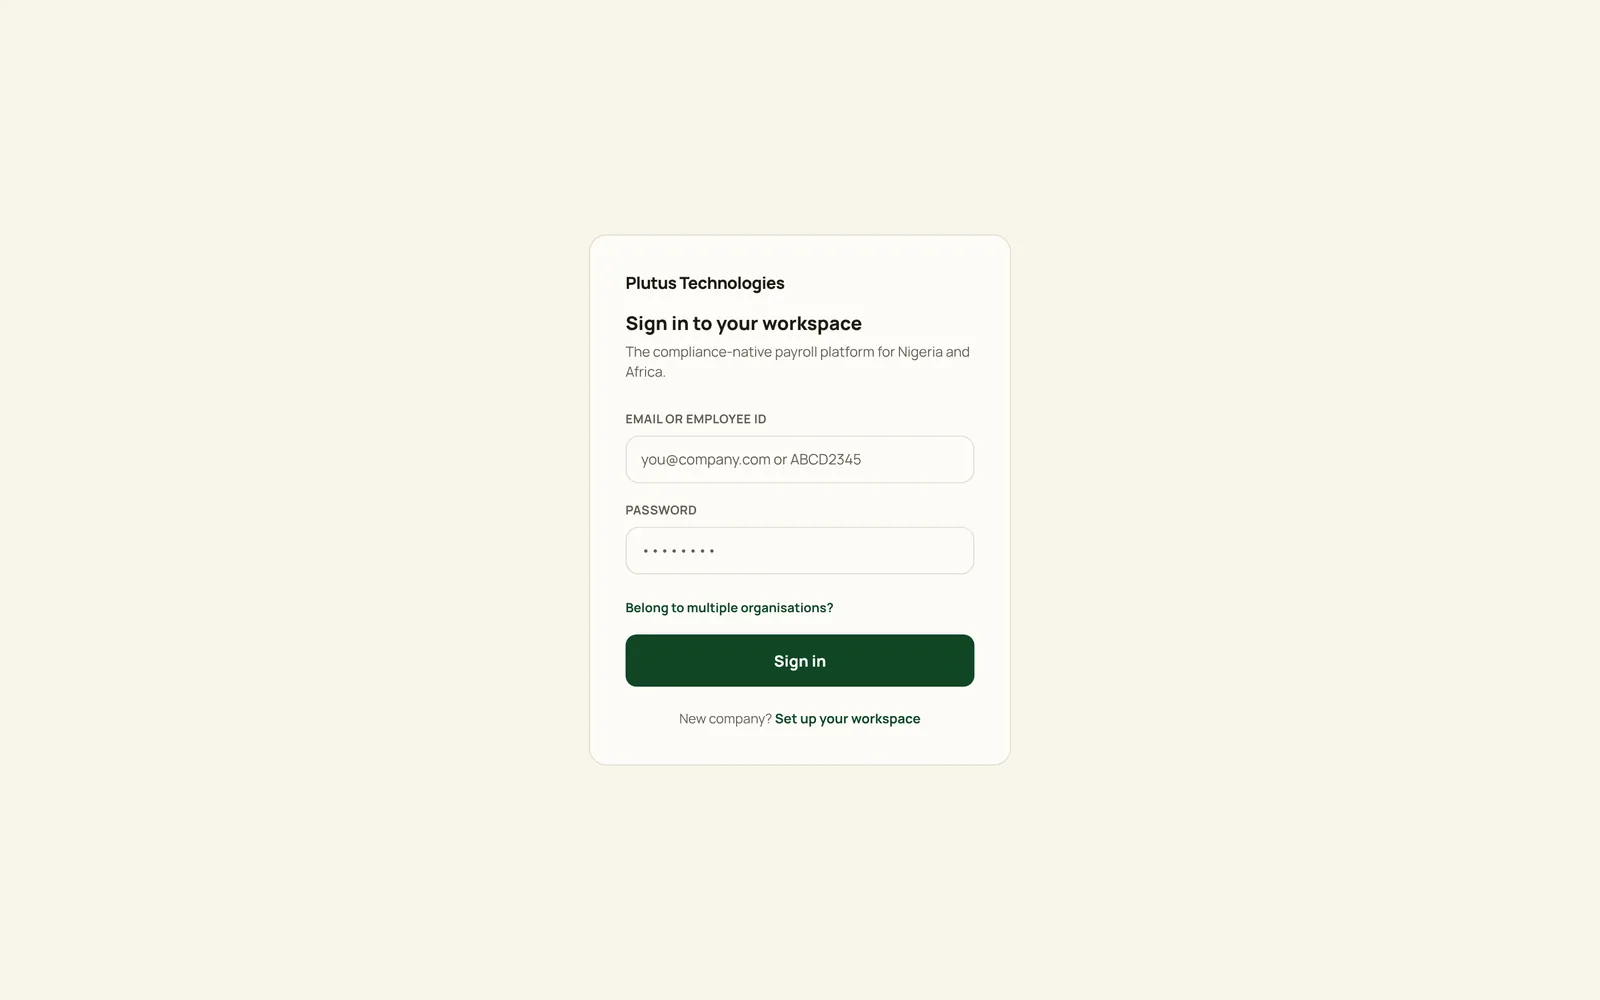
- Enter your email. Employees can use the login code on their employee record instead.
- Enter your password and choose Sign in.
- If you have turned on two-step sign-in, enter the 6-digit code from your authenticator app and choose Verify code.
If your email belongs to more than one organisation, choose Belong to multiple organisations? and enter the organisation ID.
 (opens full size in a new tab)
Set up your company
- In the app
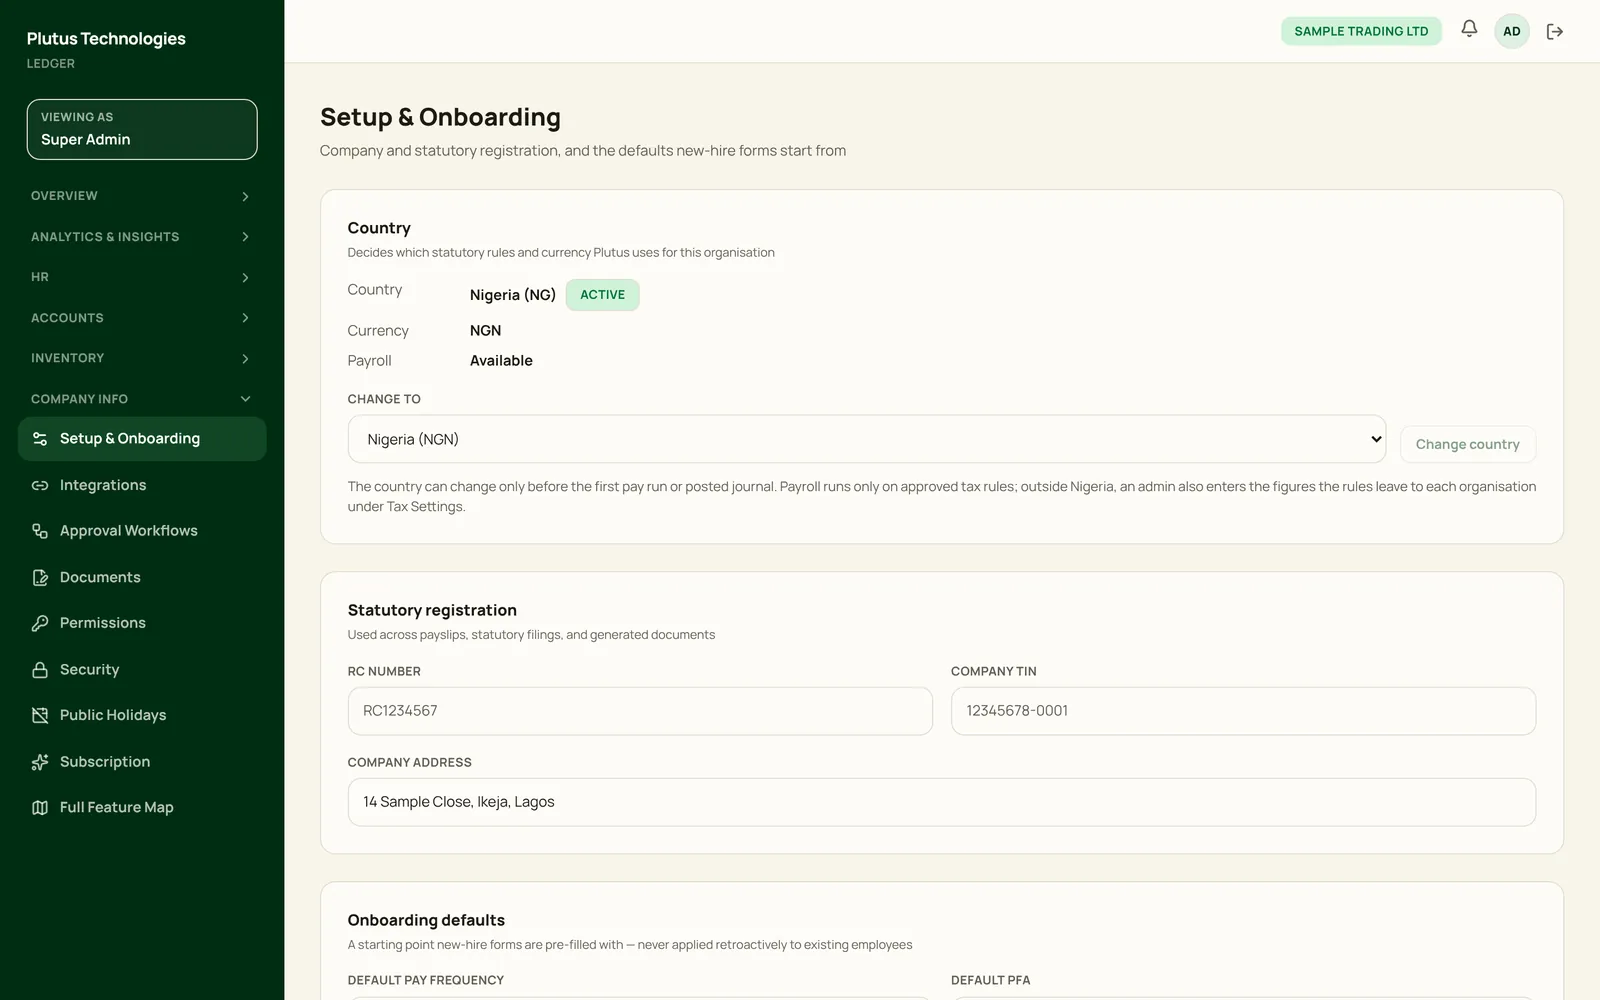
- Company Info, then Setup & Onboarding
- Who
- Super Admin
- Check the Country panel shows the right country and currency. It can change only until the organisation has its first pay run or posted journal.
- Under Statutory registration, enter your company's tax ID and address, and in Nigeria its RC number. They appear on payslips, statutory filings and generated documents.
- In Nigeria, choose the states you employ staff in under States of operation.
- Under Onboarding defaults, set the default pay frequency, and in Nigeria the default pension fund administrator. New-hire forms start from these; existing employees are never changed.
 (opens full size in a new tab)
Add users and choose their roles
- In the app
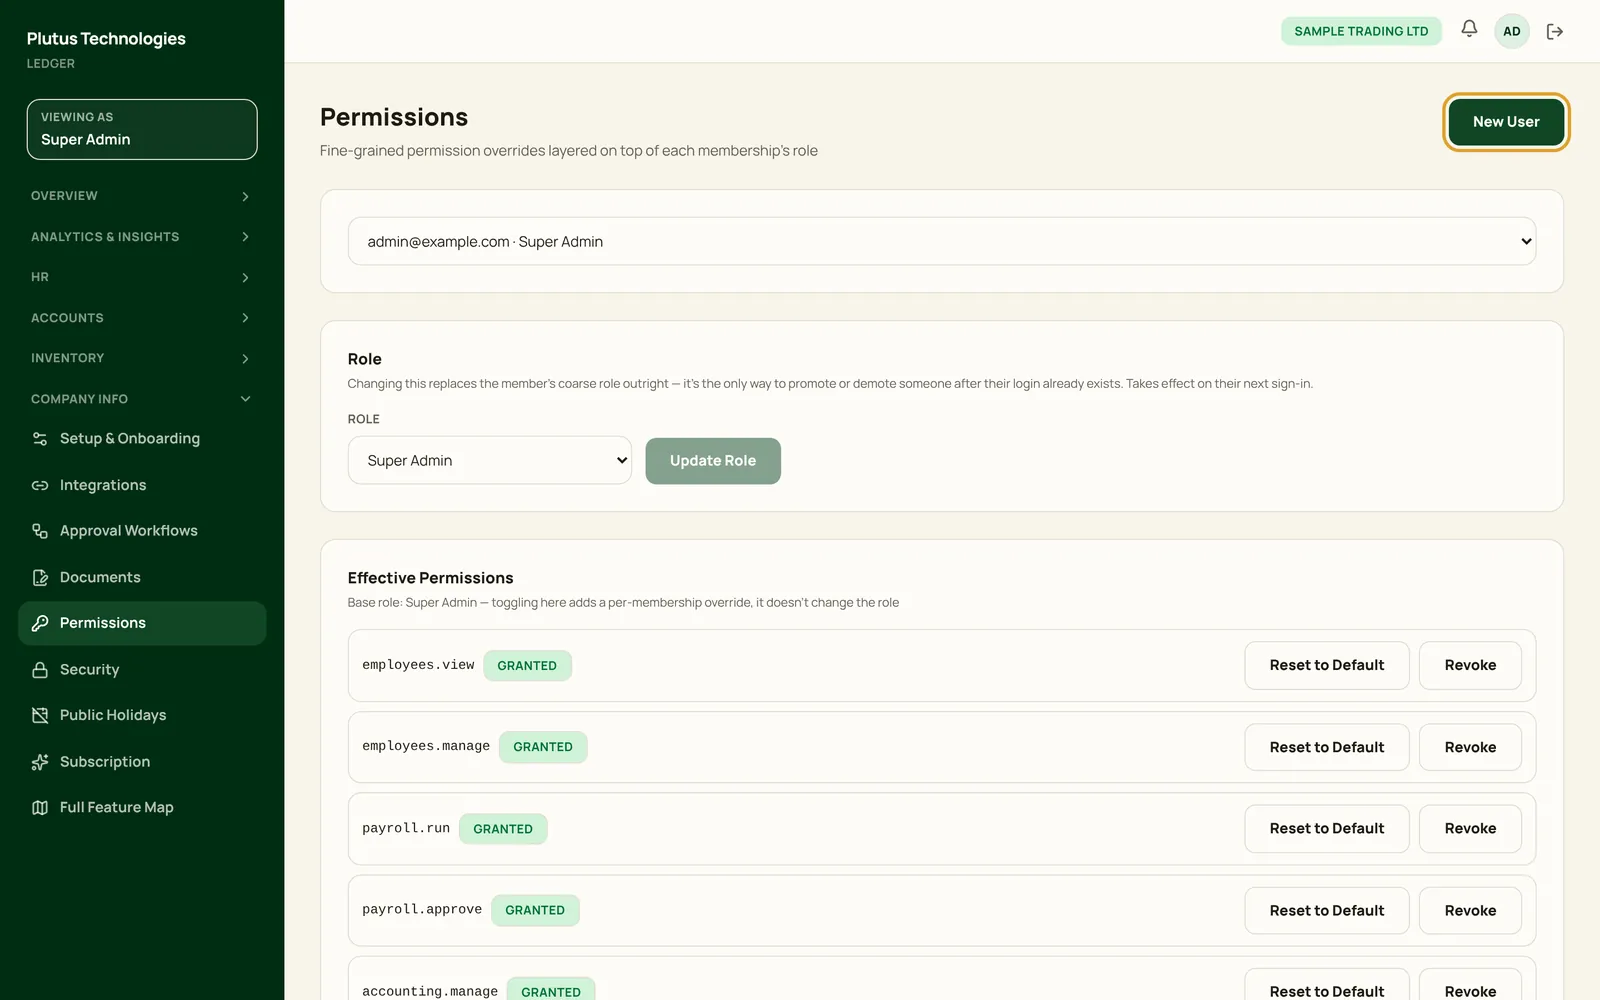
- Company Info, then Permissions
- Who
- Super Admin
- Choose New User, then enter their email, role and an initial password.
- To change someone's role, select them, pick the new role and choose Update Role. It takes effect the next time they sign in.
- Under Effective Permissions, grant or revoke a single permission on top of the role. Reset to Default removes the override.
- Super Admin: everything, including company setup, users and permissions.
- Payroll Manager and Accountant: the same access, covering payroll, accounting and inventory.
- HR Manager: every employee record, but never pay figures.
- Manager: their direct reports. Department Manager: the departments they head.
- Auditor: read-only everywhere, with pay figures masked.
- Employee: their own payslips, leave, expenses and documents in self-service.
 (opens full size in a new tab)
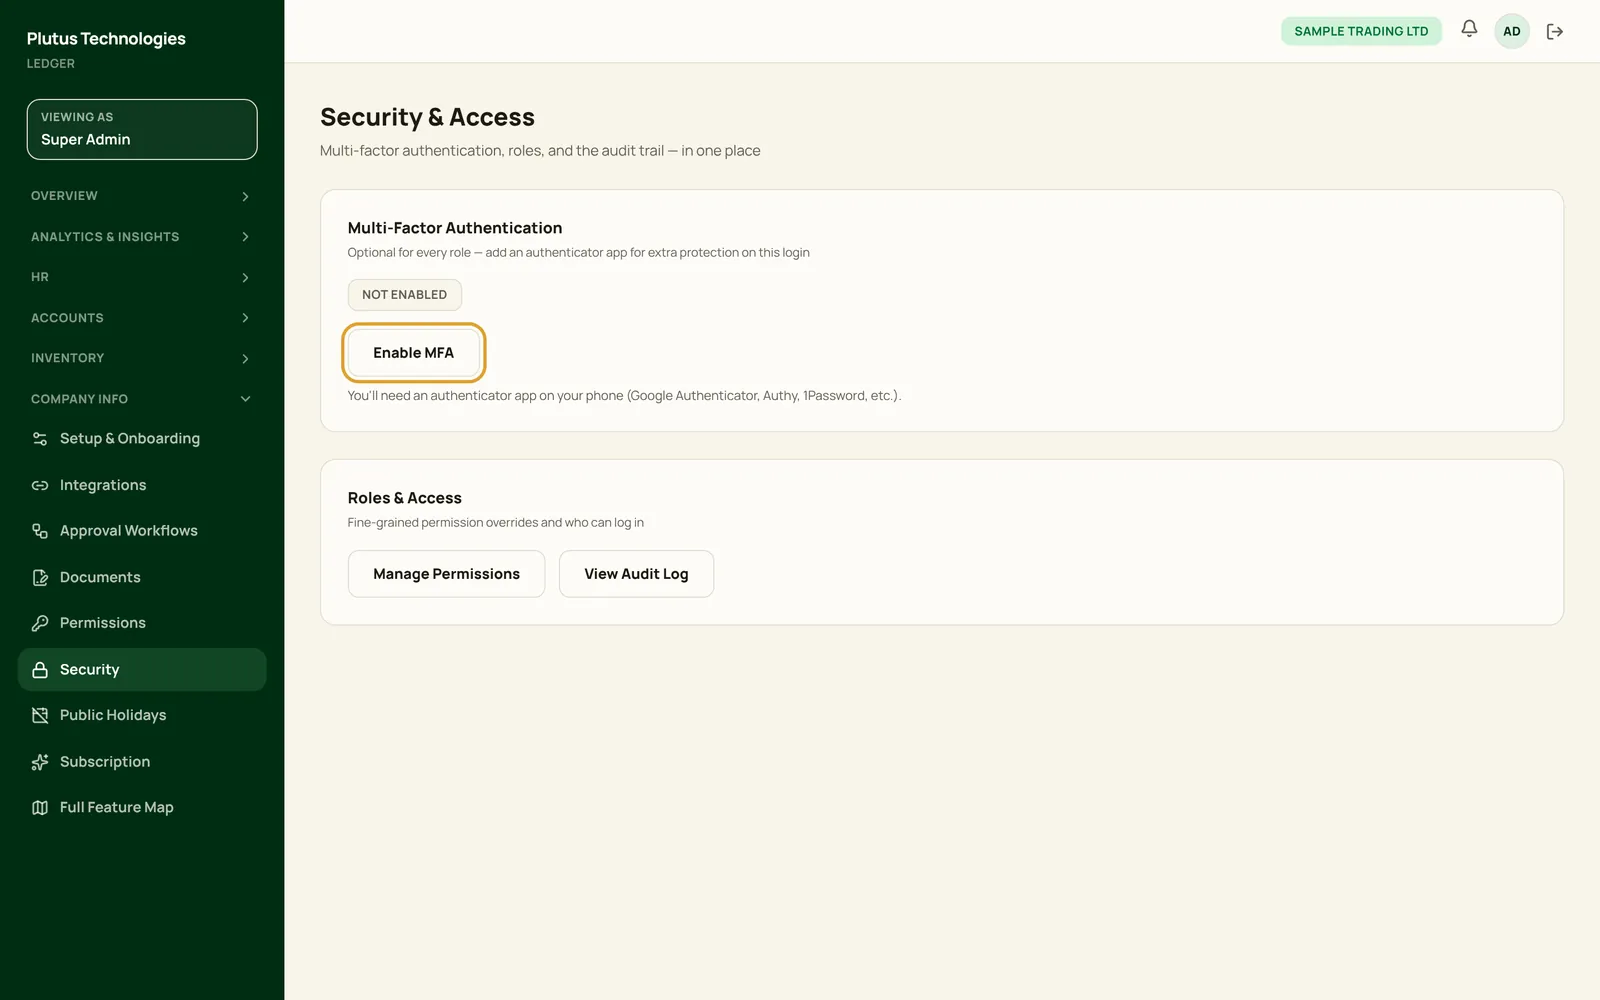
Turn on two-step sign-in
- In the app
- Company Info, then Security
- Who
- Super Admin
- Payroll Manager
- Accountant
Two-step sign-in (MFA) is optional for every role. You need an authenticator app on your phone, such as Google Authenticator, Authy or 1Password.
- Choose Enable MFA.
- Add the secret Plutus shows to your authenticator app.
- Enter the 6-digit code the app generates to confirm. From then on, signing in asks for a code after your password.
 (opens full size in a new tab)
Find your way around
- In the app
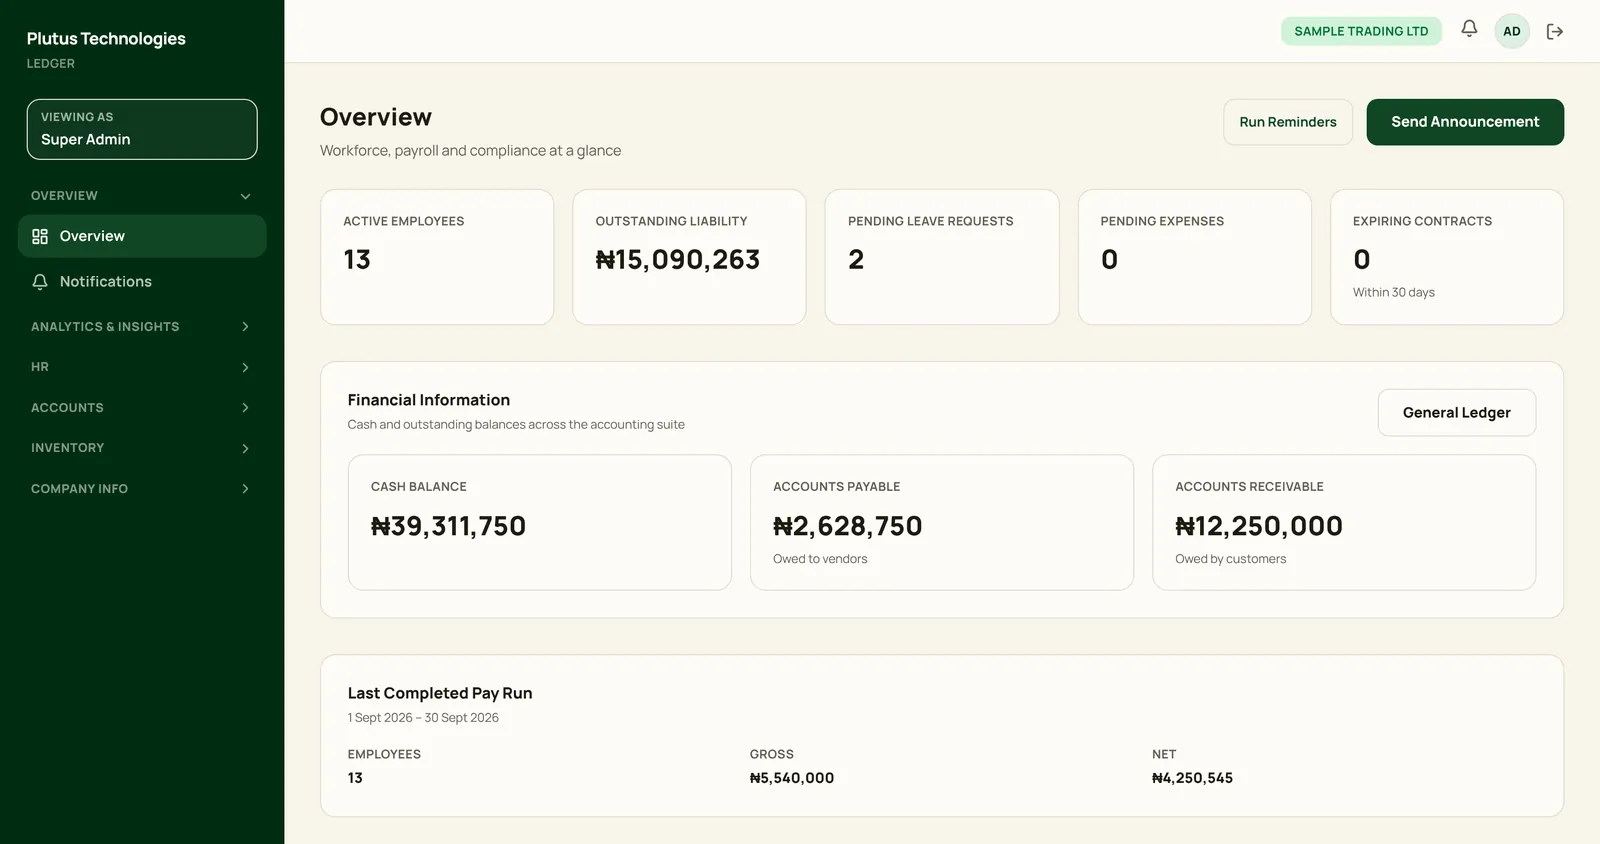
- Overview
The sidebar groups every screen by area. You only see the screens your role can open.
- Overview: the dashboard and your notifications.
- Analytics & Insights: ten dashboards and custom reports.
- HR: workforce, requests and time, and company policies.
- Accounts: payroll, payables and receivables, and financial information.
- Inventory: stock, operations, stock control and setup.
- Company Info: setup, integrations, approval workflows, permissions and security.
 (opens full size in a new tab)